KVM管理工具Kimchi介绍
官网地址:https://github.com/kimchi-project/kimchi
1. 安装方法,以RHEL为例:
1.1 安装依赖:
###**For fedora and RHEL:**# yum install gcc make autoconf automake gettext-devel git \python-cherrypy python-cheetah libvirt-python \libvirt libxml2-python python-imaging \PyPAM m2crypto python-jsonschema rpm-build \qemu-kvm python-psutil python-ethtool sos \python-ipaddr python-lxml nfs-utils \iscsi-initiator-utils libxslt pyparted nginx \policycoreutils-python python-libguestfs \libguestfs-tools python-requests###** If using RHEL6, install the following additional packages:# yum install python-unittest2 python-ordereddict###** Restart libvirt to allow configuration changes to take effect# service libvirtd restart
1.2 编译安装
下载kimchi安装包,解压并进入目录
# ./autogen.sh --system# make# make install
2. 运行kimichi
# kimchid --host=0.0.0.0
3. 登陆和界面展示
打开浏览器输入 https://$IP:8001/ 登陆
Kimchi uses PAM to authenticate users so you can log in with the same username
and password that you would use to log in to the machine itself.
Kimchi使用的系统用户,可以直接用root用户名密码登陆。
截图
主机界面: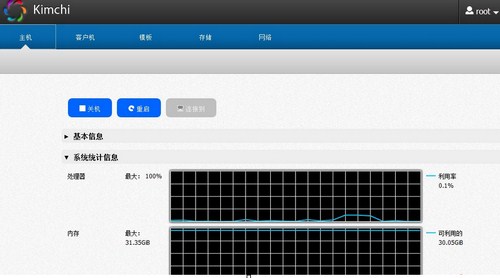
虚拟机界面:
//可以通过界面添加管理虚拟机,也可以自动读取之前的虚拟机配置。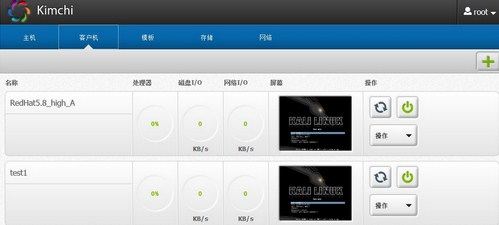
拥有模板管理和存储及网络管理界面
使用noVNC来进行连接虚拟机,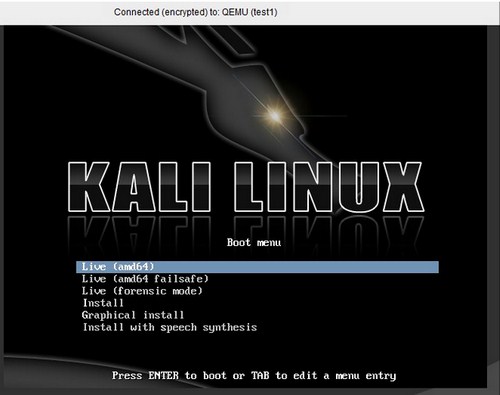
4. 简单评价
目前只能支持单机,不支持多台机器的操作。
支持模板方式快速创建虚拟机。
快速创建虚拟机使用的是backing file方式。
支持KVM。
通过libvirtd来管理虚拟机,可以自动读取之前已经创建好的配置。
转载请注明:IPCPU-网络之路 » KVM管理工具Kimchi介绍